Safe progression
DPS + BREAK + HEALBest default while learning tells. Healing buys another attempt, while BREAK still creates a clean damage window.
 WIKI · FIELD GUIDE
Load a tested role framework, read why it works, then swap one slot at a time for your roster and activity.
Choose by encounter pressure—not by a single universal tier list.
Best default while learning tells. Healing buys another attempt, while BREAK still creates a clean damage window.
Trades emergency healing for faster resource cycles. Strong when mechanics are understood and damage windows repeat predictably.
Uses support to amplify the BREAK window. High ceiling, but missed dodges are expensive and the support must match the plan.
Built for gliding, climbing, swimming and gathering. It is a travel loadout—not a boss recommendation.
The same three slots solve different problems in story, bosses, Egg Heist and exploration.
Use the safe shell until enemy tells become familiar.
Save long animations for BREAK; swap support to healing if resets are frequent.
Favor short setup and fast conversion; downtime can cost the clear.
A 3-player PvEvP mode: extraction safety, route speed and disengage value matter alongside damage.
Build around traversal verbs and keep one flexible combat slot.
Load a tested role framework, read why it works, then swap one slot at a time for your roster and activity.
A forgiving three-role shell for learning attack windows without giving up damage conversion.
Inferlupa creates the opening, Scorchhowl spends it, and Glacy prevents one missed dodge from ending the run.
Need more damage: Flameruff. Need a sturdier BREAK option: Budclaw. Prefer passive comfort: Gracewing.
A high-tempo fire shell that trades direct healing for more frequent, repeatable offensive cycles.
The official roles cleanly separate energy supply, gauge pressure and damage conversion.
Replace the DPS with Flameruff for a safer field pattern; use Lavazar if the encounter values Fire + Rock reach.
A straightforward mono-element shell for long encounters and comfortable progression.
Shared Water coverage keeps the plan readable while DPS, BREAK and Heal remain distinct.
Shelly lowers the investment entry point; Panpanta changes the BREAK feel; Glameep adds Grass coverage.
A damage-forward shell inspired by community Fenmane and Luminelle pairings, completed with an official BREAK role.
Luminelle supports the damage plan, Bolty creates vulnerability, and Fenmane converts the window.
If survival is inconsistent, replace Luminelle with Glacy. Fentuft and Blazen are same-element role alternatives.
A balanced field team with broad Grass coverage and dual-element healing through Glameep.
The shell preserves the familiar three-job structure while Glameep adds Water coverage for field flexibility.
Irisal is the DPS alternative, Tuckin changes the BREAK profile, and Gracewing gives Wind coverage.
A community-reported Pawney and Rookey core with passive-heal comfort from Gracewing.
The two Dark roles keep the offensive plan coherent while Gracewing gives the shell room to recover from execution errors.
Witchin changes sustain from Heal to REGEN. Malevsera raises aggression but removes safety. Glacy is the direct comfort replacement.
A documented community shell used for high-difficulty Egg Heist, prioritizing electric amplification, resistance pressure and recovery.
Community reports pair Fenmane with Dazmand for resistance pressure and Glacy for sustain. Treat exact output as patch-sensitive.
Luminelle is the more aggressive electric support. Bolty restores an explicit BREAK role. Gracewing offers passive-heal comfort.
A conservative three-role shell for the official 3-player PvEvP mode, where route speed and surviving extraction matter.
Fenmane contributes field mobility, Rookey supplies BREAK, and Gracewing preserves recovery while moving between fights.
Pawney raises Dark damage, Dazmand adds support pressure, and Glacy gives more direct recovery.
A community traversal loadout built around three movement verbs rather than combat ranking.
Reports cite Fenmane for gliding, Blazen for climbing and Piopiota for swimming, reducing menu swaps on long collection routes.
Gracewing adds recovery, Fentuft retains electric coverage, and Shelly gives a lower-investment Water option.
A readable boss-learning shell that keeps each job explicit and adds Fire or Water coverage through dual elements.
Grizbo spends the opening, Lavazar creates BREAK, and Bubbeep supplies recovery without duplicating the damage job.
Magmarex is an alternate Fire/Rock breaker, Geodeback changes the utility profile, and Glacy is the familiar direct healer.
Do not copy a name blindly. Preserve the job first, then match element, comfort and investment.
Converts the opening
Creates vulnerability
Repairs mistakes
Accelerates the next cycle
Amplifies or enables
Official roles define the framework. Rotations and team shells are editorial or community observations and may change after balance updates.
Level and stabilize the unit that spends the BREAK window first. Split investment too early and every clear slows down.
Enough durability and gauge pressure matter more than chasing perfect damage on the breaker.
Raise heal, regen or support only until the rotation feels stable, then return resources to the main engine.
Load a tested role framework, read why it works, then swap one slot at a time for your roster and activity.
Load a tested role framework, read why it works, then swap one slot at a time for your roster and activity.
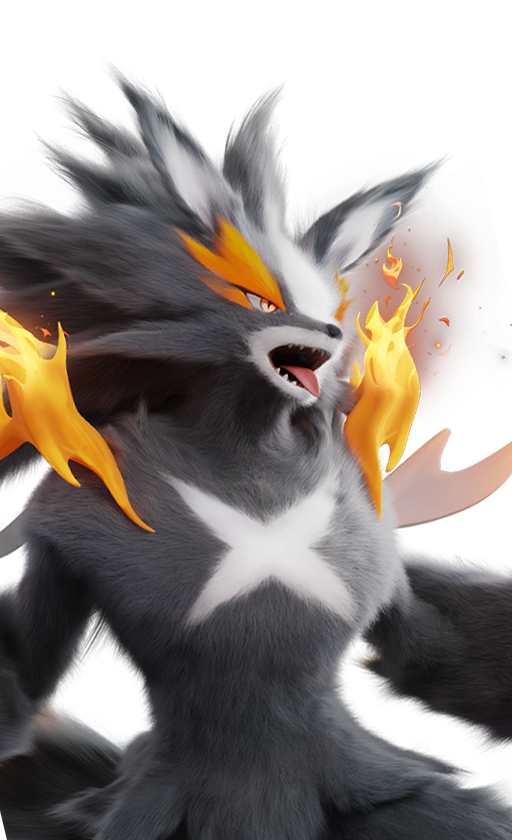 ScorchhowlDPS · fire
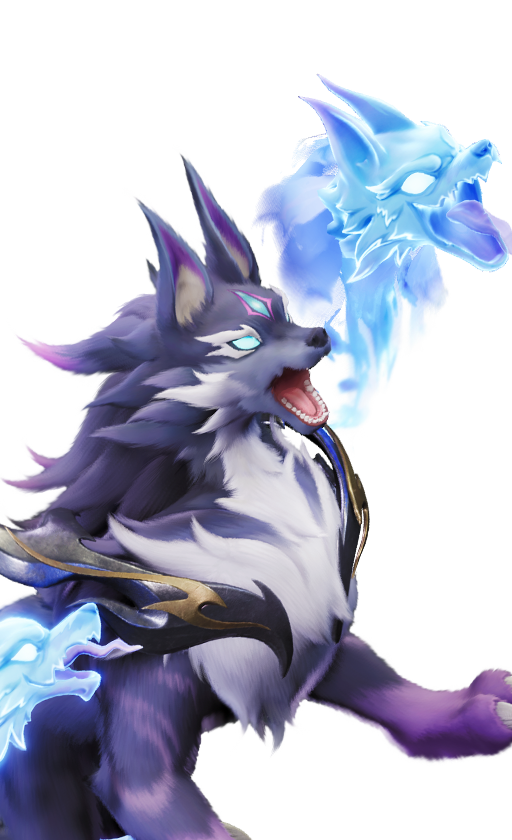 InferlupaBREAK · fire / dark
 GlacyHEAL · water / ice
 FlameruffDPS
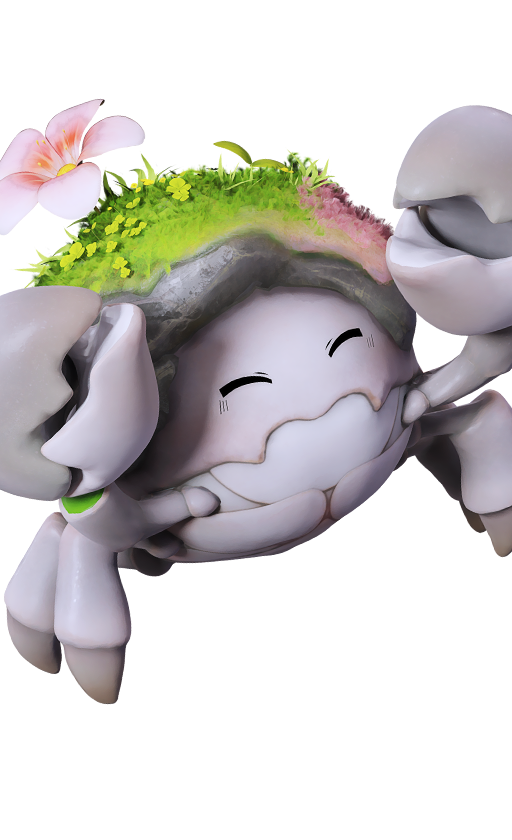 BudclawBREAK
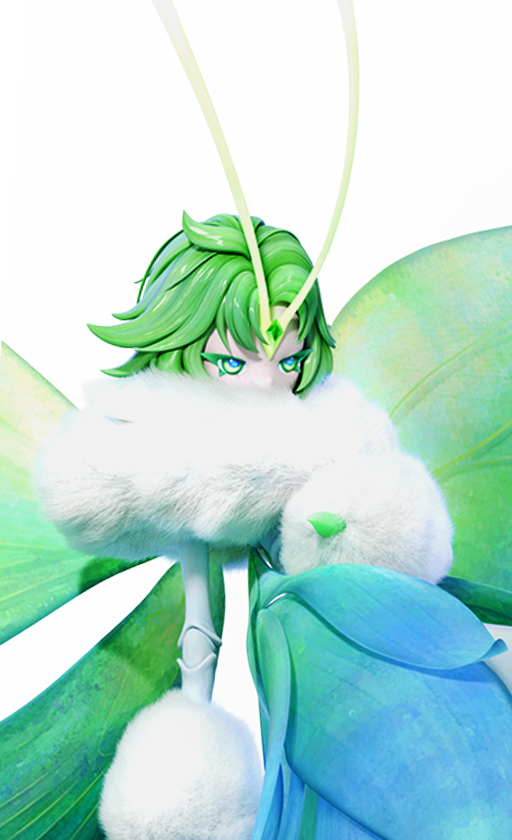
 GracewingHEAL
 FlamerionREGEN · fire
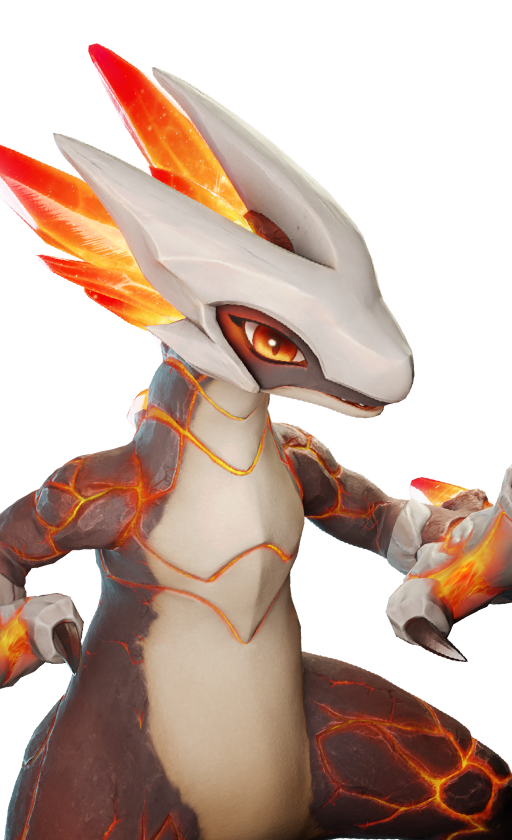 LavazarBREAK
 SparkiREGEN
 SheldonDPS · water
 SusutaBREAK · water
 ShellyDPS
 PanpantaBREAK
 GlameepHEAL
 FenmaneDPS · electric
 BoltyBREAK · electric
 LuminelleSUPPORT · electric
 FentuftDPS
 BlazenBREAK
 ThornbladeDPS · grass
 HumminBREAK · grass
 IrisalDPS
 TuckinBREAK
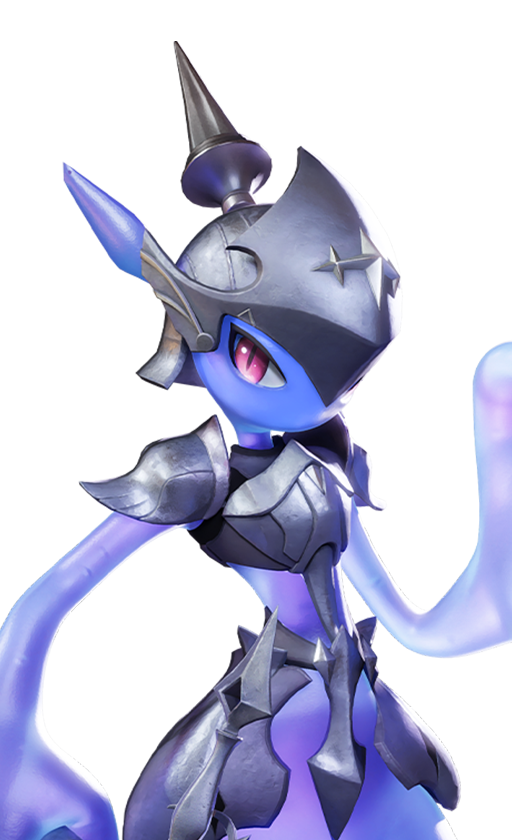 PawneyDPS · dark
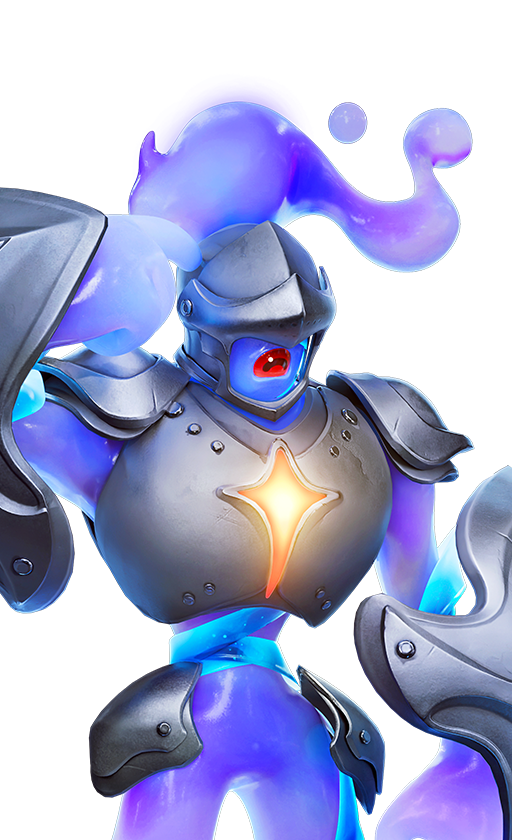 RookeyBREAK · dark
 WitchinREGEN
 MalevseraDPS
 DazmandSUPPORT · electric
 PiopiotaSUPPORT · water
 GrizboDPS · rock
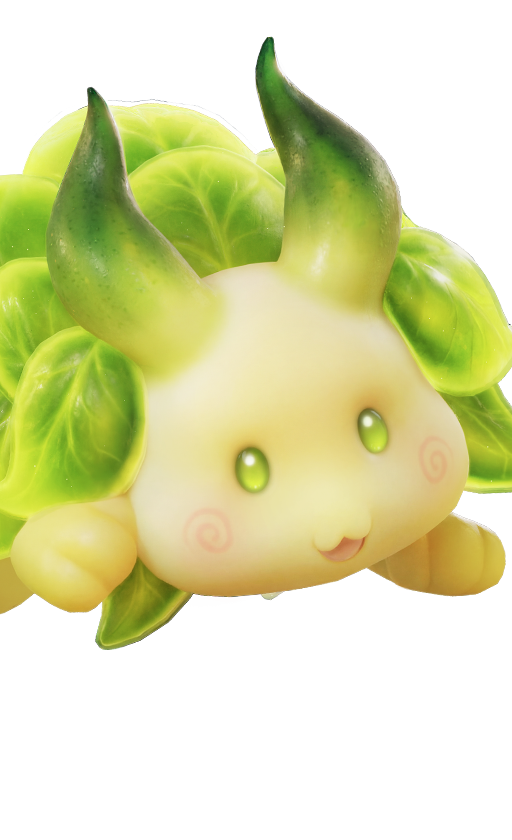 BubbeepHEAL · grass / water
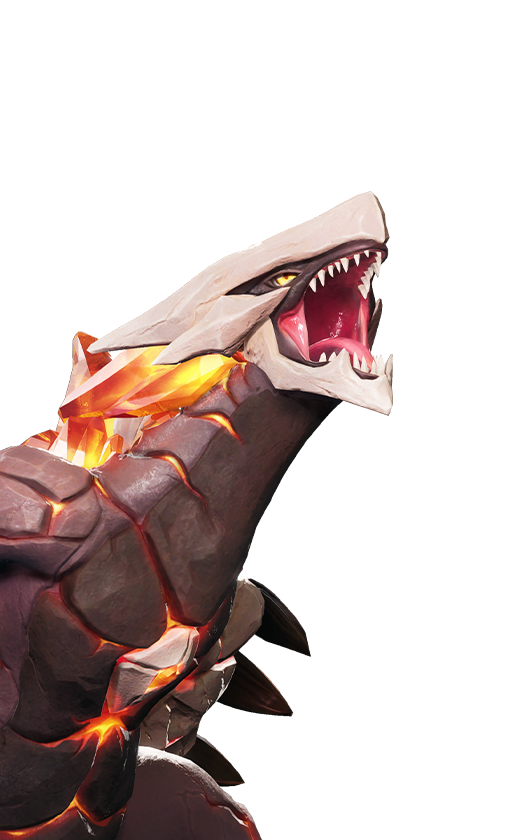 MagmarexBREAK
 GeodebackBREAK